Heritage project building challenges

Building Your Heritage Project

Celebrating the Charm and Challenges of Heritage Homes

You know the saying:

“They don’t build them like they used to!”

This is true, but to be honest, I’m not mad about it.

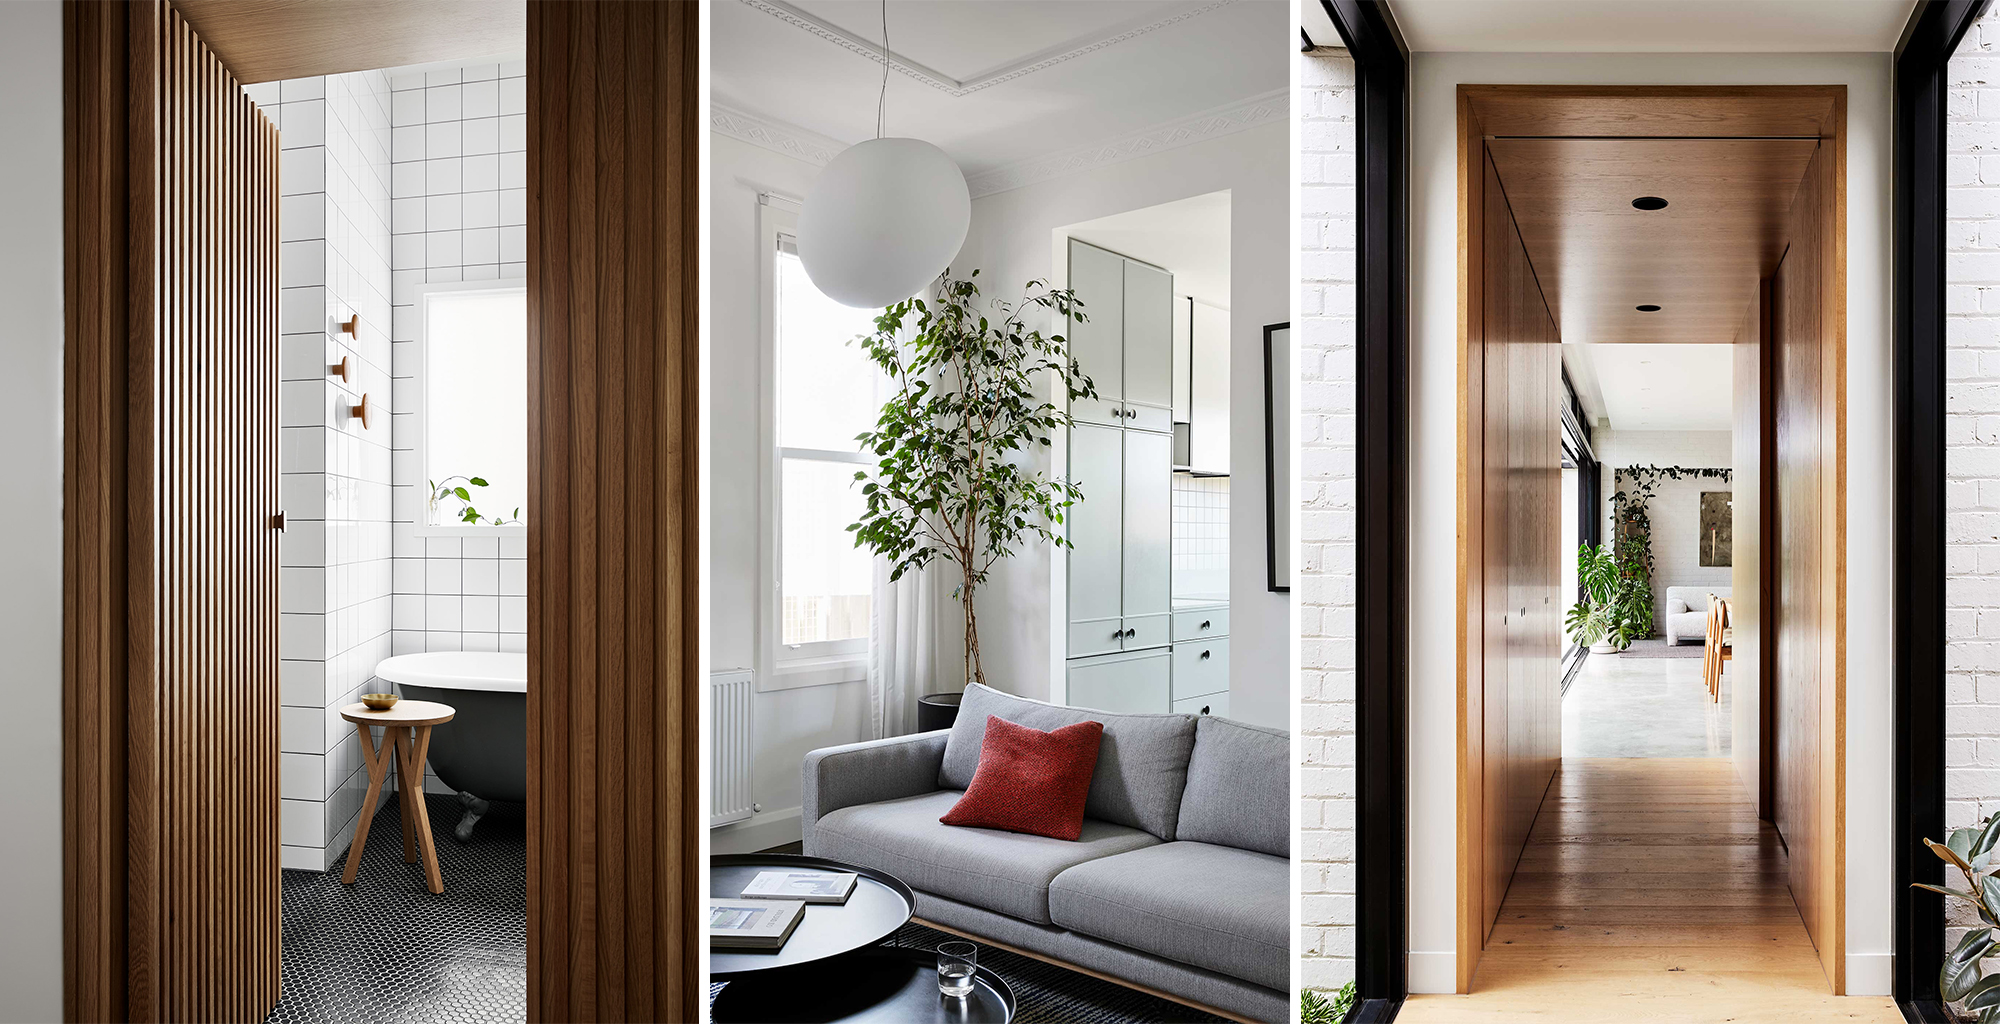
I love the many and varied old houses that make up our streetscapes.  We have had the privilege of working with clients around Melbourne and rural Victoria on homes from many different decades.  These homes often have beautiful proportions and a depth of texture and detail that comes through years of life and occupation.  Every project is a chance to preserve a part of this history and breathe new life into a building, re-imagining it as the perfect home for a new family.

Updated Building Standards

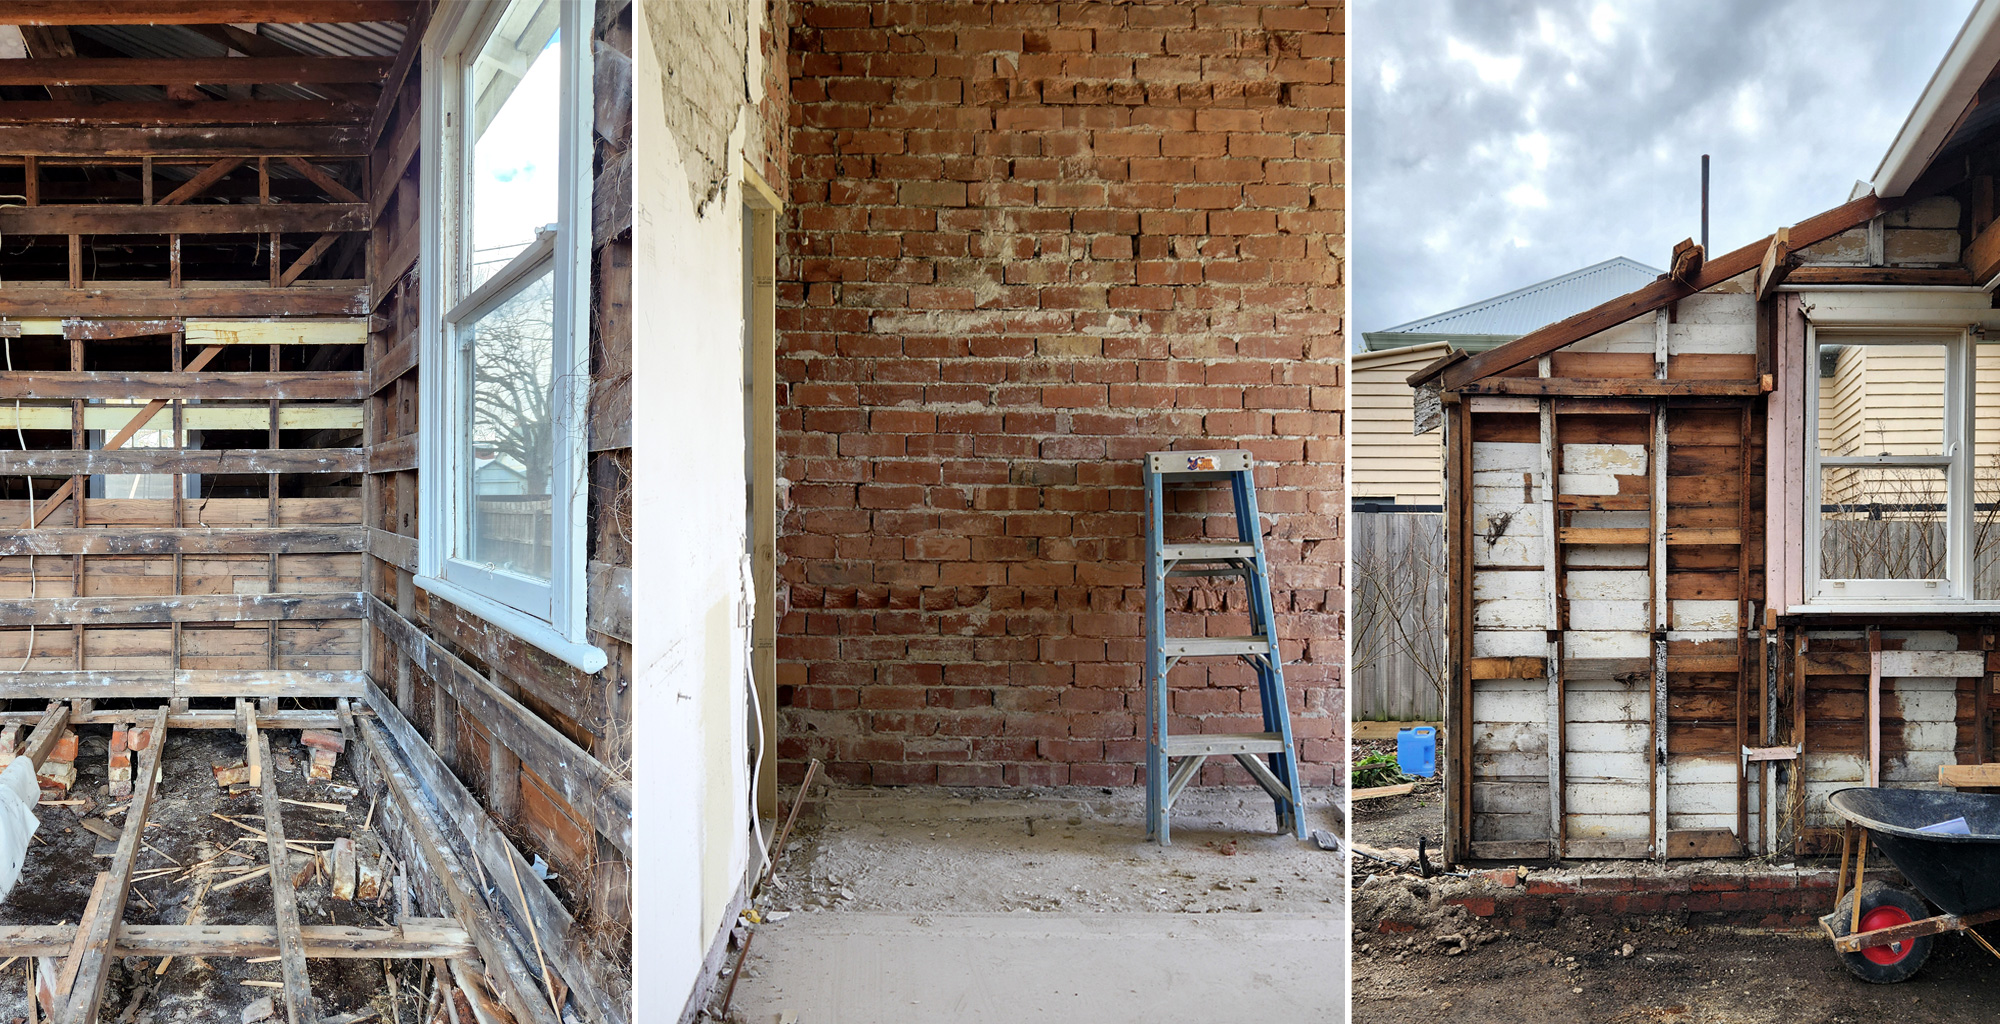
Renovating and building your heritage home is an incredibly rewarding experience, but it’s important to understand the challenges that come with it.  One hurdle that is often overlooked is the hidden condition of existing buildings.

Did you know that the first centrally controlled Victorian building regulations were only established in 1940, and a nationally consistent building code was not released until 1988!?

Along with periods of labour shortages and limited material supply, it is no wonder that once we start to work on old building, we often find some rather questionable construction techniques.

Heritage project building challenges

Navigating the Unknown: Uncovering the True Condition

This is where working with a designer or Architect with experienced in heritage projects becomes invaluable.

We make it a priority to identify as many potential construction issues as possible before work begins on-site.  During our initial investigations, we look for signs of what needs repair or upgrade.  Cracks in the wall or ceiling, uneven floors, old wiring or plumbing and rotten timber elements are common indicators of building elements that require attention.

Preparing for Surprises: Planning with Care

Even with thorough investigation there will almost certainly be some surprises that are only revealed after construction.    Throughout our design process we discuss a budget contingency and any areas of unknown scope with clients to cover unexpected site conditions.

Often these elements are uncovered in the early stages of a project. If you are starting without this in mind, uncovering unwelcome, unknown conditions can be a disheartening way to start.  It may feel like changes and extra costs are coming thick and fast as the demolition stage reveals the true condition of the building.

Expertise That Guides You Through

If you feel like this all sounds overwhelming and alarming, remember that this early work is not indicative of the full construction process.  Having the knowledge and experience to navigate heritage restrictions, building codes and design best practices ensures that we will provide you with the best solutions and advice to resolve any complications.

With a respect for both tradition and innovation, the renovation and extension of a heritage home in Melbourne can create a space that beautifully blends historical charm with contemporary living. It’s a process that requires care, patience, and expertise, but the end result is a home that carries its past into the future with grace and style.

If you would like to know more about the planning process of working with a heritage home, you might like this article.

If you are interested in renovating and building your heritage home, we would love to hear from you.

challenges overcome in Heritage Project
properly planning your heritage project will ensure a beautiful outcome

Planning For Your Heritage Project

Renovating a heritage home is an amazing opportunity to bring an old building back to life, turning it into a wonderful new home.

These houses are rich in character, providing a stunning starting point for renovation. However, the same heritage details that make them so special can also present unique challenges.  Planning for your heritage project does come with its own set of considerations and planning requirements.

Know what you are working with:

There are a wide range of heritage styles across Victoria each one, an important part of our built history.

In Victoria, Victorian Planning Zones and Overlays govern how land and buildings are used and developed.  These provide protection and guidance to ensure that the unique features, history, and natural environment of specific areas are respected.

The Heritage Overlay is designed to protect buildings and places that hold historical, cultural, or architectural significance. If your property falls under a Heritage Overlay, any proposed changes will need to respect the historical integrity of the building.  The overlay and any specific heritage schedules will guide how your design balances the preservation of original features with modern design interventions.

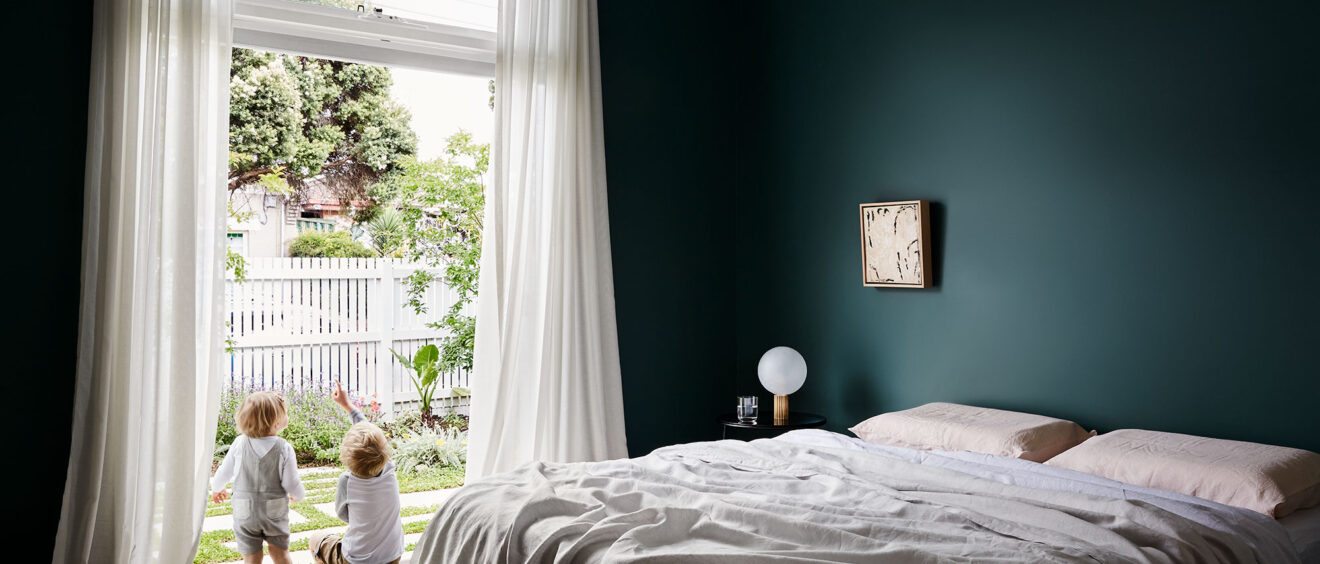
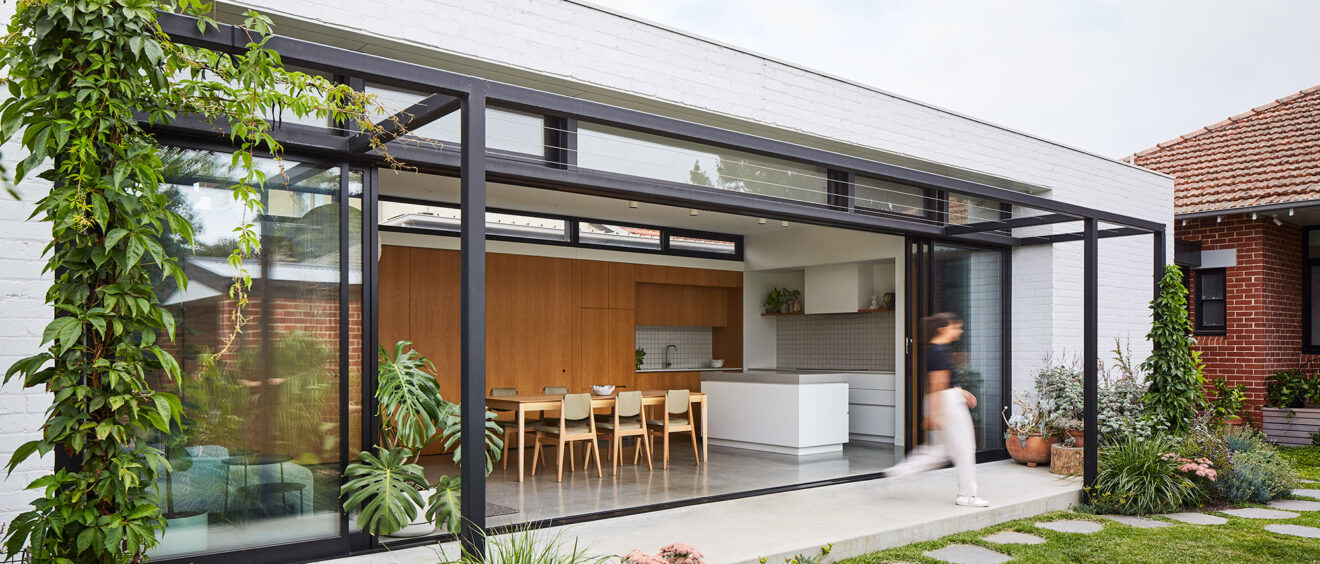
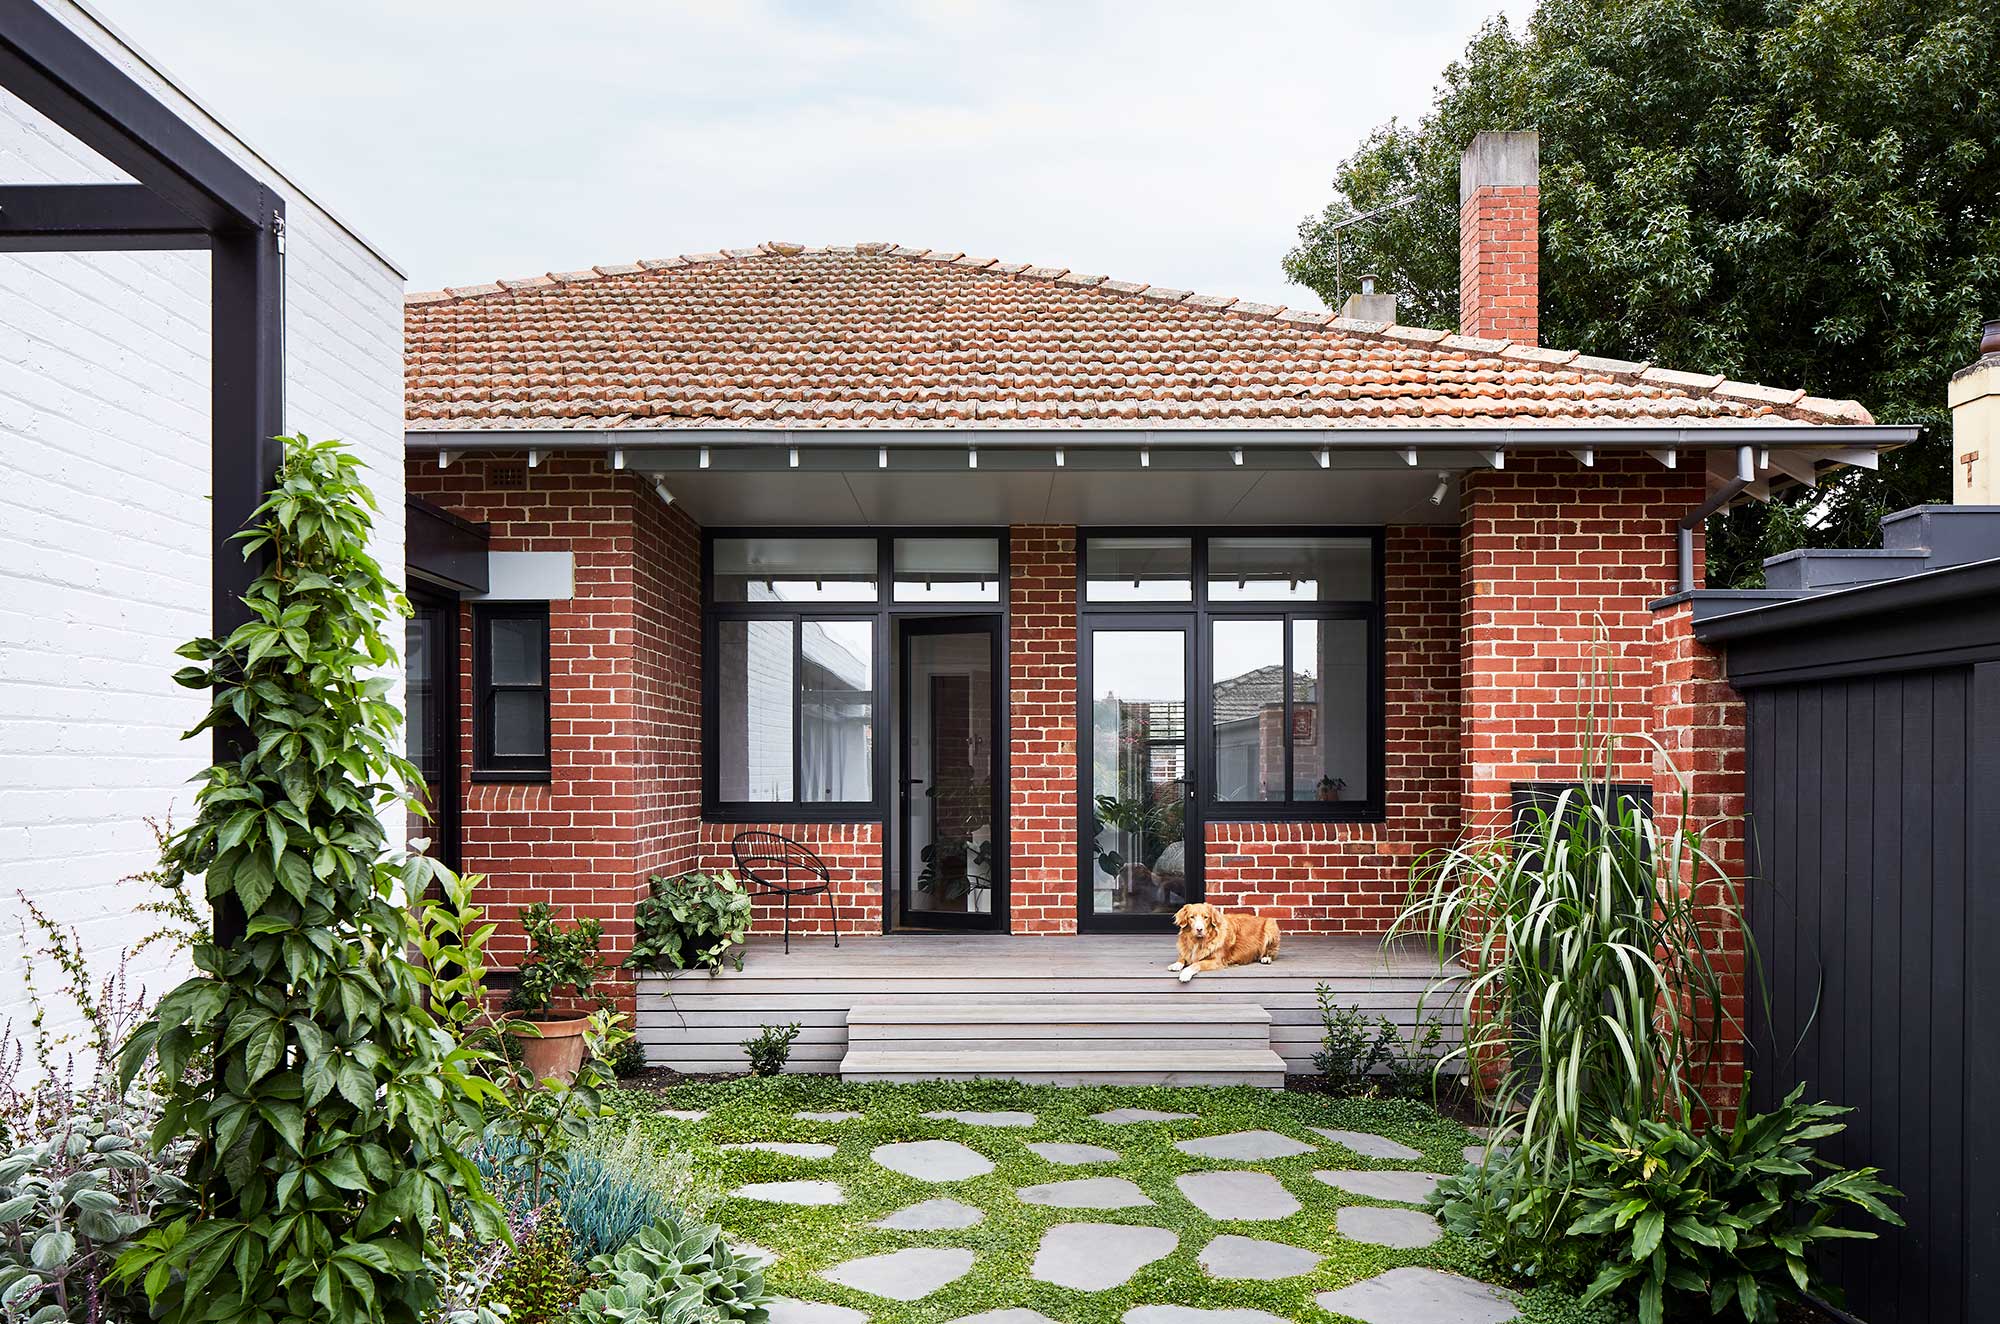
Maike Design renovated Californian Bungalow and extension with beautiful garden

The impact on your design process:

An architect or designer who is experience in heritage projects will start your project with an understanding of the restrictions in place by the Heritage Overlay.  This will ensure that from the outset your project works to a realistic and respectful design scheme.

Heritage renovations require additional time allocated to the planning application and approval process.  This will require a comprehensive response to the planning restrictions.  Your application will need to clearly demonstrate how the renovation will respect the home’s original features.  In some cases, after the application has been lodged, the council may request changes to your plans to ensure compliance with heritage requirements.

To help ease the process, consider arranging a pre-application meeting with a planning officer.  This allows you to receive feedback and identify potential issues with the application prior to submission.

Working within heritage guidelines:

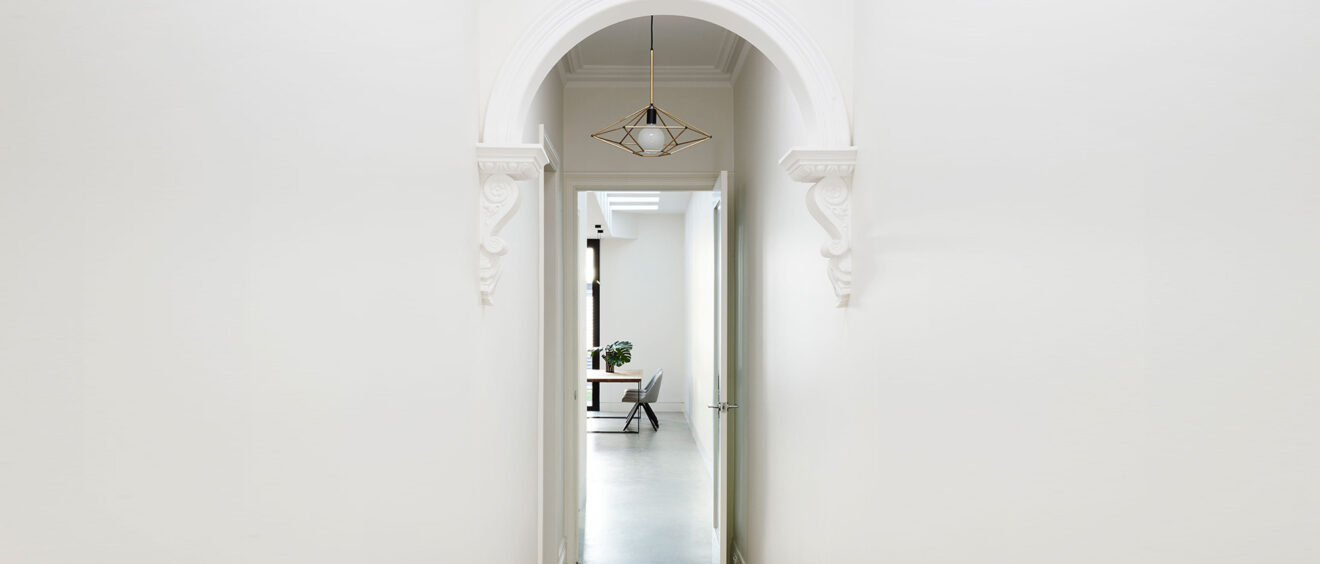
Heritage projects will include an element of preservation and restoration.  Features such as ornate plasterwork, period fireplaces, windows, or rooflines may need to be preserved or restored authentically.  These often require specific materials and specialised contractors to match the original construction as closely as possible.

Identifying heritage elements that are to be retained early in the process, allows them to be thoughtfully incorporated into the design.  Incorporating modern amenities, construction standards and updating building performance without compromising the historic character of a building, is a challenge we greatly enjoy.  This process, though detailed, gives a new life to a home with history and character.

Where to start:

At Maike Design, we love creating comfortable, functional and beautiful new homes from a heritage foundation.  With a deep appreciation for architectural history and a thoughtful approach to your individual goals, we understand the unique challenges and opportunities that come with renovating a heritage home.  We work closely with all our clients to ensure that they can confidently work through the design and approval process.

If you would like to chat about planning your heritage project, we would love to hear from you.

Design and building budget

Pricing Your Design Project

Budget and pricing are often two of the biggest concerns people have when starting a building project.  This has been heightened by a lot of news about the rapid escalation of material and labour costs in the building industry.

How do you price your project?

There are a couple of different ways to price a project for construction. The most common methods used for a residential project are a competitive tender or a negotiated offer.

Competitive Tender:

Generally, a competitive tender will include pricing from three or four Builders. They are each issued a full set of documentation and have a window of time to price the project.  This does depend on the size and complexity of the project, but a tender period is usually around four weeks. To help ensure pricing is accurate, during the tender period your Architect or Designer will assist the builders.  They will answer queries, issue additional information, and organise for the builders to visit the site.

At the end of the tender period, your Architect or Designer will present you with each of the tenders.  They will discuss each option with you and give their assessment of the pricing.  But it is your decision who you will engage.

If all the pricing comes in high, you can discuss the project further with your preferred builder.  This is an opportunity to discuss buildability, scope reduction and other potential savings so that everyone is satisfied with the scope and budget before signing contracts.

At the core of the tender process is a spirit of fairness. All the tenderers should have access to the same information and be assessed equally.  The other tenderers should be informed if you or your designer has worked with one of the builders before, or if one of the builders has prior knowledge of the project.

A tender should never be used as a ‘test price’ process or a way to check on the pricing of a preferred builder. The builders involved in a tender invest a substantial amount of time pricing your project.  It is not fair to expect this to be done if you know ahead of time that you have no intention of going ahead with them. If you want to check construction costs at any stage of the project, you should engage a Quantity Surveyor to provide a detailed pricing.

If you are thinking of going through a tender process we highly recommend having the project priced by a qualified Quantity Surveyor at least once in the early stages.  This ensures that the scope and design are on track and you go to tender with a reasonable sense of what the construction price will be.

Negotiated Offer:

A negotiated offer is the process of negotiating the price with a preferred builder rather than calling for tenders. It is a more open, collaborative relationship and saves the time spent completing the tender process. The builder can be brought onto the project earlier to offer opinion on buildability and pricing.  A builder with a better understanding of the project can provide a more thorough pricing. Knowing about the project early also helps your Architect or Designer to manage the design timeline alongside the builder’s availability to start on site.

A Negotiated Offer is done in good faith that the project will go ahead with the preferred builder.  Unlike a tender, it is not a competitive process. It requires a higher level of trust and an established positive relationship with the builder to ensure the project is priced fairly. Again, you should engage a Quantity Surveyor at any stage of the project if you would like a second opinion.

Maike Design kitchen and dining room. Open timber shelves, indoor plants, brass pendant light, teracotta tiles, timber floors.

Case Study:

We successfully used the process of a Negotiated Offer to price our Meow House. We had been referred to our Meow House client by one of our other very happy clients from a previous project. During our early discussions, our client decided that they would also like to bring on the builder from this previous project. We knew that we worked well with this builder, his work was of a high standard. He had been fair and transparent in his pricing in the past, so we were happy to work through a negotiated offer process with him.

The Meow House house included fully gutting and renovating an existing 1960s brick house. The footprint of the house was large but very poorly planned, as a warren of small rooms. Our new design sat within the existing footprint, without an extension.  This meant the careful treatment of the old building was critical to the success of the project.

Once the Sketch Design phase was completed, we had the outline of the design and scope of the project.  We organised a walk-through with the builder to discuss the design and the extent of repairs required.  The builder was able to review buildability and give an indicative price for repair work – giving us a baseline for our budget. Having this baseline cost showed us how much of the budget would need to be allocated to  non-negotiable  items. This wasn’t a matter of expensive finishes or design details.  This was work that the building required to bring it up to a suitable standard.

We continued to check in with the builder as the design and detailing developed.  We worked with them to price some stand-alone elements, like the joinery, ahead of the main pricing. This helped us to keep tabs on pricing and give our client a sense of where the construction price was going to end up.

There is a place for both types of pricing and we hope being aware of your options will allow you to choose the best way to proceed for your project.


We love hearing about your projects no matter what stage you’re at.

If you’ve just started out thinking about your new home have a look at our free 4-week guide – How to: Defining Your Design Brief.

How to Manage Design Decisions

Everyday life is already filled with a seemingly never-ending series of decisions. Some of these decisions are big and many you will barely notice you are making. Cornell University research estimated that the average adult makes around 35,000 decisions every day! On top of all these, the process of designing a home is packed full of even more decisions.

Decision fatigue refers to the sense of overwhelm people feel when they are required to make too many decisions. According to one study, the decisions you make during the day draw on a single reserve of mental energy. This includes all decisions, whether they are less important or particularly weighty. As people become more fatigued, decisions are harder to make. You can read more here and here.

At Maike Design, we use a clear process to that breaks decisions into manageable groups. Each of our stages focusses on finalising specific elements of the design in a carefully ordered progression.

The initial stages of our process set the foundation of the design. We respond to existing conditions of the site, neighbourhood, and original building. The overarching approach sets the conceptual intention of the design, the layout of the plan and is the baseline of the design direction for the entire project. Working through our process, the decisions become more detailed until we have a fully fleshed out design – documented and ready for construction.

By staging the process in this way, each decision sits in the context of the ones prior. While there is an overwhelming array of choices for every element of a design, ours are narrowed down to those that fit within the framework we have already put in place. Using our design knowledge and expertise, we curate these to present the best two or three options. And just like that, the choice becomes easily manageable.

Here are a few ways you can minimise overwhelm and impact of decisions fatigue through your design project:

Work with an Architect or Designer you Trust.

Take their advice on board and voice your thoughts and questions. Understand the theory and reasoning behind the design to help you to feel confident in your choices. Working as a team will result in a considered and individual design.

Consider how involved you want to be.

Before you begin the project, consider how involved you want to be and discuss this with your designer. Be sure to raise it again if at any point your preference changes. Some clients love being heavily involved. Many of our clients work with us because they trust that we will taking care of decisions while keeping them up to date with the key milestones. Delegate decisions to your designer at a level you are comfortable with.

Remember your design is for you, not for everyone else.

As tempting as it is to gather opinions from everyone you know, multiple, differing points of view can make decisions even harder to make. Find someone you trust as a sounding board – but don’t forget to discuss your ideas and priorities with your designer so they can respond to them through the design process.

Give yourself time.

When you have a review meeting with your designer, create some space around the timeslot so you can go into your meeting with a clear mind. After the meeting, put aside time to absorb the information. This should be a time when you have the capacity to consider how your design will meet your specific requirements and make your life wonderful.

Design Drawing

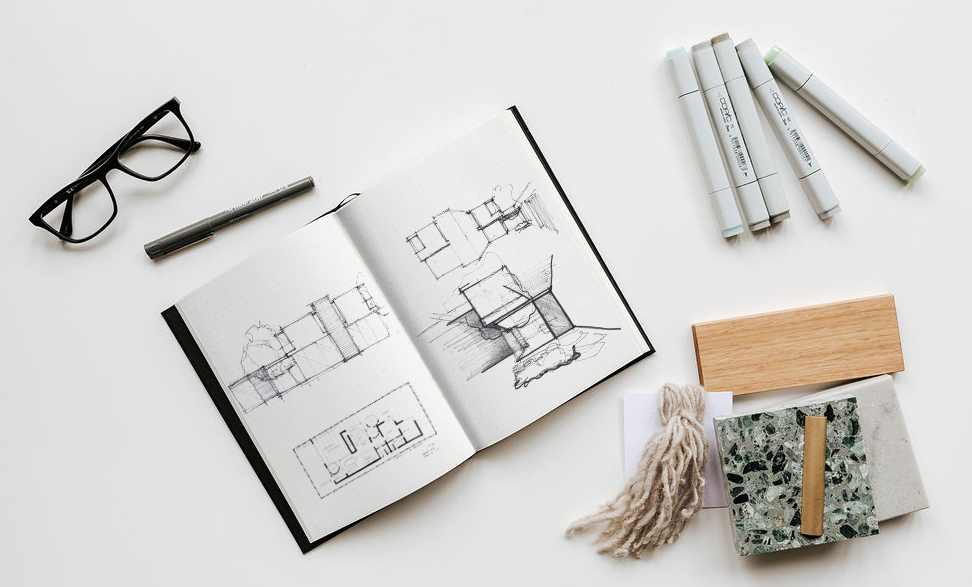
Drawing is a key component of our creative design process.  It’s no secret that I have a personal bias towards hand drawing and genuine admiration for people who can (seemingly) effortlessly produce emotive and beautiful design sketches.  In a world full of beautiful renders and digital documentation, its value can sometimes be overlooked. Every designer uses drawings differently, but I don’t think you will find one who simply does not use it at all.

Drawing is more than a means of representation – it is a way to think as well as to communicate.

The process of drawing can be a direct connection to your thought process. Lines follow on from previous lines, they move and shift as the ideas form.  It is a tool for thought, creativity and problem solving.  Pencil lines on paper can capture idiosyncrasies, movement and character without being anywhere close to a fully developed design.  It is an essential way to explore the sense of a building before the shape of the space has been determined.

The point of sketching isn’t to produce the final image on a piece of paper.  It is a process of observing, creating, and exploring.  One of sifting ideas through a process of expression, evaluation, correction, and re-evaluation.  Sketching to develop a design can merge visible physical characteristics of a space with the more ambiguous perceived and sensory feedback.

“Drawing is a process of observation and expression, receiving and giving, at the same time.”
Juhani Pallasma, The Thinking Hand

Clients are often unaware of the volume of drawings produced during the design process.  This mountain of pages are not all clear or legible.  They can be sketchy and scratchy, drawn over and over while working through an idea.  They overlap one another, often including notes and arrows to show circulation, views, sun, air, and sound.  Through repetition and exploration these design gestures begin to solidify and become ready to be transferred to the finite and precise medium of digital representation.  They are the drafts that gather thoughts in progress, not a finalised idea that will be presented.

Although the early design drawings are one of my favourite stages in any design project, as well as a tool for developing conceptual ideas, we use drawing in different ways throughout the design process:

Site analysis and recording existing conditions:

Diagrams and sketches are a great way of capturing information on site.  They can be overlayed to see how all aspects of a site interact.

Space planning:

Using loose area sketches or bubble diagrams can explore how different areas of use, spatial relationships and occupation sit together.  A space planning sketch is an illustration of design attributes rather than of form and can quickly show areas that are successful or unsuccessful when laying out areas.

Details on the go:

Even on site we use drawings to communicate and discuss details.  It is a succinct way to problem solve and make sure that everyone clearly understands the solution.


By no means am I minimising the value of digital techniques as a communication tool or underestimating the huge gains in efficiency and precision that computer generated design tools have provided. There is a place for both in a robust and thorough process.  A design needs to be allowed to move through its vague and creative stage before it is ready for digital evaluation and production.

…But I will always love a beautiful hand drawn design sketch.

Designing to Age in Place

There are stages in life that prompt you to re-assess the requirements you have for your home.

I have found that the ones we plan for tend to be the exciting, building stages. Milestones like starting a family or the changing needs of teenagers. One that doesn’t seem front of mind for many people is the final stage of your relationship with your home – Aging in Place.

Thinking about your old age and what that will mean for your lifestyle and independence can be confronting.

The World Health Organisation notes reduced quality of life through loss of independence as one of the stressors that leads to isolation, loneliness, or psychological distress in older adults.

A study by the Economic and Social Research Council in the UK found that quality of life in old age is driven by psychological, social and health factors rather than objective indicators like income level, education or social class. As a result of survey responses and qualitative interviews during the study, two other factors were added as quality-of-life indicators– “adequate income and retaining independence and control over one’s life.”

The number of Australian households over the age of 55 grew by almost 3 million between 2006 and 2016. A 2019 study by the Australian Housing and Urban Research Institute showed that between 78 and 81 per cent of Australians aged over 55 (depending on age cohort) want to live in their own home as they age. While the size and type of home are important, the critical factors for this preference were security and having control over the space in which they live. Like any other time in life, we want to live somewhere that feels like home.

If you do choose to remain living at home, there are many ways that a carefully considered design can assist. Even the smallest retrofit can have a huge impact.  From preventing falls to designing beautiful welcoming spaces to help address social isolation, there is a place for architecture and design in the discussion about aging.

Changes that come with Aging.

Our capabilities change as we get older. Some of these are changes in general mobility and dexterity, reduced vision, changes in memory and reduced hearing.  A purpose-built design can integrate the changes in a subtle way to create a functional home that supports changing needs.

These changes will happen in some form to everyone as they age and can be addressed through the design of your home. I am a firm believer in the positive contribution that good design has on day-to-day life. Your home environment has a huge impact on your mood and how you operate. As you age, it will also affect how you can maintain or improve your quality of life.

Below are a few examples of how these changes can be addressed:

Keep things flat.

Minimise or remove any steps in the design to help general mobility and feeling steady on your feet. If they are necessary, ensure that the front edge of the step is clearly visible and there are handrails for support.

Highlight surface changes.

Use contrasting colours to show any change in floor surface. Different surface types have different grip levels underfoot. Knowing where there is a change in surface allows you to steady yourself as you walk across it.

Give yourself space.

When planning your space, include wide doorways so a walking frame can easily fit through. A clear zone on either side of a door allows you to stand still with a walking frame or walking stick while opening and closing the door.

Make sure you also allow plenty of space around beds, dressers, and wardrobes.  These areas may need to accommodate assistive devices like walking frames.

Grab rails.

Install grab rails in bathrooms to reduce the risk of slipping. If you don’t need them just yet, having the structure in the walls ahead of time makes installation down the track easy. Installing a towel rail that can support your weight is a great place to start.  It may be the first thing you reach for if you become unsteady.

Get strategic with your lighting.

Correct lighting levels are critical to a safe home environment. To reduce the probability of tripping, plan your lighting so you don’t ever have to walk through a dark room. This is as simple as installing two- or three-way switches in any room with multiple doorways and light switches next to the bed.

Avoid Reaching.

This goes for reaching up and down.  Avoid high cupboards or shelving that require reaching above your head to get things down.  Lift power points 45cm-60cm from the floor to minimise how far you bend down to use them.  Appliances like dishwasers and ovens can be placed higher than the usual below bench location and washing machines can be placed securely on plinths, all of which minimise having to carry or lift items while bending down.


These points just a few areas to think about when planning a home to Age in Place. There are many more ways to customise your home and a lot more detail involved in designing assist independent living. But I do hope that this brief introduction has been helpful to you or someone you know.

How lists can alleviate mental load

More than once, in previous posts I’ve mentioned that I’d be lost without my lists. I’ve had a few people ask about how I use them to organise myself, so I thought I’d give you a quick rundown on my system.

If lists aren’t your thing, skip this one and we can chat more next month.

For me, lists serve two purposes. They alleviate mental load and they track progress.

Your brain can get overwhelmed a lot quicker than you might think. Did you know, your conscious brain can only process around 40 bits of information per second while your subconscious mind can process a whopping 11 million! When your conscious brain is trying to remember even a few extra things, it loses the ability to critically process additional information and you have less capacity for good decision making and creativity.

In a study by Stanford University professor Bav Shiv two groups of participants were asked to remember a number while deciding if they were going to have chocolate cake or fruit salad. One group was asked to remember a two-digit number and the other a seven-digit number. Two digits is easy to remember but in previous studies seven digits had been shown to be the upper limit of working memory. The participants with the two-digit number were more likely to make the healthier more rational choice of fruit salad, while the group remembering the longer number fell back on their subconscious impulse for the chocolate cake.

That’s only a small choice to make but it was a measurable difference when remembering just a few extra numbers. So why would you want to use up any of your precious conscious ‘bits’ trying to remember every last thing you’ve got to do.

Especially now that a lot of us have children at home full time, we fill so many different roles. These all have a set of jobs that need to be done, phone calls to make, deadlines to meet and things to remember. So many things.

My list is where I keep everything I need to do and remember so that I don’t have to remember. It frees up my brain and lets me concentrate on the task at hand.  It helps me to prioritise and make sure I’m making progress on the tasks that are the most urgent. On days when I feel like I’ve struggled through, it gives me a sense of achievement, because it’s a visible reminder of what I have managed to get done.

The first thing to do is to make a list of everything. I mean EVERYTHING, for every aspect of your life. Don’t worry about categorising them or thinking them through too much just get it all out of your head.  Try not to gloss over big overview tasks with one item. Break them down into steps so you can tackle one step at a time. I like to keep tasks small enough that I could get them finished in a day.

Now group tasks together. This could be into categories – projects, business, personal tasks, family tasks, things that need doing around the house. You might rather group them by the type of task they are – phone calls, deskwork, errands. Whatever suits the types of items you have and the way you like to allocate or block your time. If you notice that you have any large overview tasks, now’s the time to break them down into smaller components.

I have a few different places where I keep this information. For my general tasks I prefer to do this on paper and I have my list in my paper diary. In Asana I have my project process overview, yearly goals and ideas for personal creative projects, because they are less of a day to day focus. I also have some reusable lists for things like: everything I need to pack for the kids if we go away for the night or what I need to bring with me to a site measure.

At the start of every week I take some time to sit down with a coffee and review and update my list. I actually re-write it each week in my diary. I’m well aware this seems like overkill. But it removes all the finished tasks and helps clarify what I’d like to achieve in the coming week, I flag tasks that have a deadline or I need to prioritise. I enjoy the ritual or starting my week with a clear idea of what I want to achieve for the week.

To stay focussed I use a strategy of the Daily Three / Weekly One, which I first heard of through the BizChix podcast. Each day I select three tasks I will get done. Even if everything goes wrong in the day and I only get those three things done, that is enough and I’ve made progress. The Weekly One is a way to take on larger tasks. I’ve chosen to use this as one business development task each week. It helps me to make progress every week on business related jobs that are too easy to sideline for more urgent tasks.

Finally and perhaps most importantly, there’s never much time to celebrate small goals and achievements.

When you’ve finished something, get a big fat texta and cross it off your list. Take a moment to feel good about getting something done.

Using InDesign as a design tool

Part of my process review has been to identify templates to streamline the production of a project. In early design presentations these template layouts include sketches, renders, diagrams, plans and line drawings.  I had been making the layout pages in Photoshop only because this was the program I am the fastest at using.  I did have title block files set up but Photoshop isn’t made for layouts and it was certainly not the most efficient way of working.

So, I switched to InDesign, which is exactly made for doing this kind of work.

It does take a bit of time to get InDesign running smoothly which is the main reason why I hadn’t made the move sooner.

By reviewing past project presentations, I now have templates for every type of design presentation.  The templates are an outline of everything that should be presented at each stage.  They ensure the design thinking is shown in a logical way and nothing is missed.  The content will differ from project to project but the basic information required stays much the same.

Each one has three types of Master Pages with title blocks and scale bars – 1:100, 1:50 and Not to Scale. These Master Pages are used for every page other than the front Title page.  I use a non-printing reference layer for additional notes, instructions or anything I might forget.

There are a couple of tricks I’ve included in my templates that I wish I had know about sooner:

Table of Contents:

In the top menu select LAYOUT > Table of Contents.

In the pop-up box write the title you want to appear at the top of your table of contents.

Create a new Style called “Table of Contents” (you can of course call it whatever you like but why overcomplicate things?).

This Style will need to be assigned to the title of each page you want to have appear in your table of contents.

In the same pop-up box you can edit how your numbers show up. You can also change how your table of contents looks using the paragraph styles tool.  It can be as complicated or simple as you want depending on how far you go into changing settings.

When your document is finished with a title on each page, make sure the table of contents text box is selected.

Then in the top menu select LAYOUT > Update Table of Contents.

Like magic the table of contents will populate itself, no need for manual updates. Hooray!

Cross Referenced Text:

If you have the same text in multiple places then Cross Referenced text is your friend.  For example, you can write the project details once on the cover page and have them update in the title block on every page.

Make a text box on your title page.  Write your project title and address in the box.  This is your Master Text.  I have put an orange square around any Master Text in my reference layer so I can easily see everything that needs to be updated.

Create another text box in the title block of your Master Page or Working Page.  Click into the box so your cursor is showing.

In the top menu select TYPE > Hyperlinks & Cross-References > Insert Cross-Reference

In the pop up box, select the paragraph you want to use as your Master Text. It will populate the second text box with the same text as the Master.

When you have made changes to your Master text, in the top menu select TYPE > Hyperlinks & Cross-References > Update Cross-Reference.

Just like the table of contents it will update all text linked to that reference text.

There is also an option similar to Cross Referenced Text called Synchronised text.

Draw a text box and type your Master Text in.  Select the text box.

In the top menu go to EDIT > Place and Link and draw a new text box.  The text will automatically appear in the new text box.  Repeat this process for additional instances.

You can format the secondary text boxes if you wish.  If you make changes to the master text, you will get the yellow triangle icon on the text box alerting you that it has been changed.  When you update it will revert to the Master Text.

This option will work between multiple documents, if the changes are saved in the document.

I prefer to use Cross Referenced Text because it doesn’t copy the Paragraph Style into secondary text boxes.  I can use a large bold style on my title page and reduce the text in my titleblock.  The text will update but not the style.  The Synchronised Text method updates the text and the paragraph style so they all look the same.

Automatic Date:

The last tip is to automatically date your pages to show the date you print the document.

Draw a text box

In the top menu select TYPE > Text Variables > Insert Variables > Output date

It won’t necessarily show up correctly but will update when you print

You can edit how the date is shown by selecting TYPE > Text Variables > Define

Double click on “Output Date” where you can change the Date format to suit the way you want it to show up. For design presentations I use the month and year only. This means I can PDF a file ahead of the actual day I’m presenting it without having the date show incorrectly.

I hope these help you to streamline your workflow. If you have any tips of your own, let me know.

Maike Design bookshelves and workbench with artwork

Home has always been important

I have always felt that ‘Home’ is an important concept. So much so that I have chosen to focus Maike Design Studio on creating and investigating residential design. Now that we are spending more time than ever inside, the importance of finding or creating a place to retreat to that makes us feel at home should not be underestimated.

There is a beautiful phrase in The Poetics of Space by Gaston Bachelard that for me perfectly sums up what a home is:

“…the house shelters day dreaming, the house protects the dreamer, the house allows one to dream in peace.”

Architecturally, a space is a house – a container. It is the act of living in the space that creates a home. A dwelling (noun) collects us together with our loved ones but is nothing without the act of dwelling (verb) within it to animate and fill its spaces.

A home is not a transformative tool, but rather provides the space and stability to just be ourselves. It is without outside expectations and is a base that provides us with stillness and rejuvenation. It represents what is secure and familiar, in contrast to the potentially unknown world outside.

A home is mentally quieter, even when we are physically closer to the noise and demands of members of our household.  We allow people into our homes on our terms and control (or rely on social etiquette to dictate) the line between public and private. The ability to control and layer the graduated relationship between us and the rest of the world defends the intimacy of our home.

Within a home we’ve also got to think about the dynamic between all members of the household. One characteristic of 21st century housing is the importance placed on separated, private spaces. The provision of individual spaces for every family member can be seen now in Australia across all socio-economic groups.  Interestingly this contrasts with the parallel development of open plan living.

An ill-conceived large space that combines all the home’s living activities does not allow for retreat or differing activities. The only retreat option is to absolute privacy – individual bedrooms and separate studies. There is no middle ground. Not allowing for a range of functionality and spatial qualities has led to the replication of spaces. Kitchens sit alongside a fully equipped butler’s pantries, theatre rooms or retreats counter the open plan lounge.

It is not the size of the house but the spatial quality, adjacency and function of shared family spaces, considered both individually and as part of the whole that create a delightful home.  Finding the balance of zoning, screening and visual connection between spaces provides unique areas, each suited to their function but in constant dialogue with those adjacent.  This allows for differing functions to co-habit the same space.

The opportunity to create this sense of home for other people is a huge privilege and one I enjoy immensely.  During this period of social distancing, I hope that the safety and familiarity of your home is bringing some calm to your days.

How to capture your process

I know that we’re all creative and every project is different … except they’re not.  The concept and design of every project is different BUT the framework for the process can and should be reused and refined as much as possible.

With Australia in lockdown there is a lot of uncertainty around projects and workload.  Many of you are working from home and I know that while there is a lull in project work, discussion is turning to taking some time to work on your business.  So, although being stuck inside on your own is not great and things are stressful right now, lets keep busy and start documenting your workflow.

Before I started, capturing my process was a bit overwhelming.  I know I’m not alone and plenty of people are putting it off because it seems like such a huge task.  If you’ve got children at home at the moment, it is still really achievable – you can easily use small blocks of time to review individual sections.  There isn’t anything in this post that is particularly difficult or a secret hack for getting it done.  I’m pleased to say, it’s really not as bad as it seems and you should just get started.

Here is what I did.  I hope it gives you some perspective and perhaps a starting point if you’re doing the same.

I looked at a few different tools to capture my workflow.  There are plenty of digital tools, from complex mind-maps and project management apps, through to good old pen and paper.  I started on pen and paper, because I tend to think best when I’ve got a pencil in my hand but quickly became frustrated by running out of space as I added tasks on top of each other.

After testing quite a few project management programs I settled on Asana as my documentation tool.  I have been using Asana as a to-do list and since I’m a list kind of person, decided it was a good fit for this process.  I wanted to document a full scope project as the base template for future projects that would become a ‘shopping list’ of tasks for any smaller scope project.

Asana is a powerful project management tool which I’m completely underutilising for lists.  It does have great features like sub-tasks, notes, descriptions and integrations with the time tracker Harvest.  In the future I’ll be able to see the work times attached to this shopping list of tasks to help plan workload and project allocations.

I pulled out a bunch of past projects, both successful and challenging, and looked at how they were structured.  I did have a loose process I had been working with but with every project the process would change slightly.  When I was looking through the projects, I tried to define what contributed to the success of some that was missing from others.  I looked at everything from how the design was presented to when information was provided.  From this I ended up with a defined set of stages.  Each of these stages is a clear deliverable package – either a design presentation or set of documents.  These became the SECTION headings in Asana and each has an associated list of tasks.

Under these Sections I got everything out of my head in one go and listed every single task I could think of.  Everything from sending meeting reminders, which consultants need to be involved, what the package includes, right through to invoicing at the end of a stage.  I revisited the list over a couple of weeks, adding layers of additional detail.  It took a few goes to get everything down… all 19 pages of it!!

The idea of documenting this process is to make it repeatable.  Once I had the list there were three questions I asked about each task that would make it possible for anyone to complete it:

Does it break down into smaller tasks?

For example, the task ‘Site Measure’ includes a sub-task list of all the little bits and pieces beyond overall room size that needs to be documented and measured to accurately capture the existing conditions but could be easily forgotten.

Is there a template that could apply to this task?

This could be a canned email response, a drawing or document template or an information sheet.

Are there any documents associated with this task?

This refers to items like consultant documents, meeting minutes, contracts or photos.  If there are, I noted where they should be digitally filed in the project folder.

Creating a clear and detailed workflow gave me a set of templates that I need to create and showed me where I couldn’t articulate my steps as clearly as I would like.  I learned that my process was not clearly defined in the initial contact and pre-briefing stage.  I have since spent time working closely on what I want that experience to be for potential clients and how I can provide them with all the information they need to confidently start their projects.

There are so many details in this process that I can’t write about them all in one post.  If there’s any you’d like to know more about specifically please get in touch.